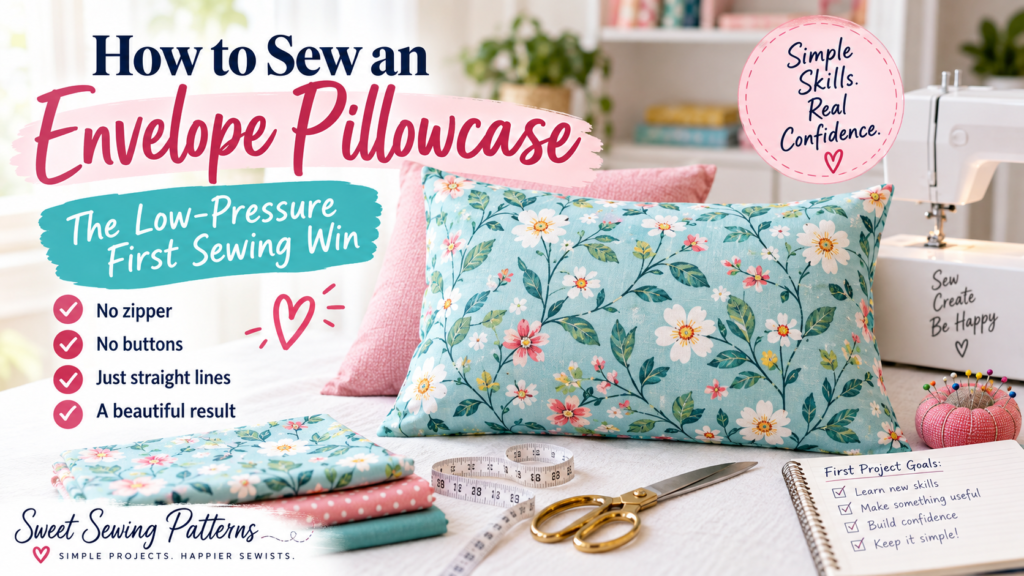

If you’ve been eyeing that sewing machine in the closet but keep talking yourself out of your first project, there’s a good reason: garments feel risky. You buy fabric, you cut into it, and if the fit is off or a seam puckers in the wrong place, you’re left with something you can’t wear and can’t easily undo. That fear of wasting good fabric — or an entire weekend — on something unwearable is exactly why so many beginners stall before they start.
The envelope pillowcase sidesteps that risk almost entirely. There’s no body to fit, no size chart to second-guess, and no seam that has to line up with a zipper or a curve. If a line of stitching wobbles slightly, nobody will ever know — the pillow insert will be tucked inside doing its job regardless. It’s one of the simplest sewing projects for the home you can attempt, which makes it a low-stakes way to learn how to sew an envelope pillowcase as a true beginner, on fabric you don’t have to be precious about.
Why the Envelope Pillowcase Is a Beginner Favorite
Almost every beginner-unfriendly part of sewing comes down to shape. Garments ask you to trace tissue-paper pattern pieces, true up curved armholes, and ease a sleeve into a hole it doesn’t quite match. None of that shows up here.
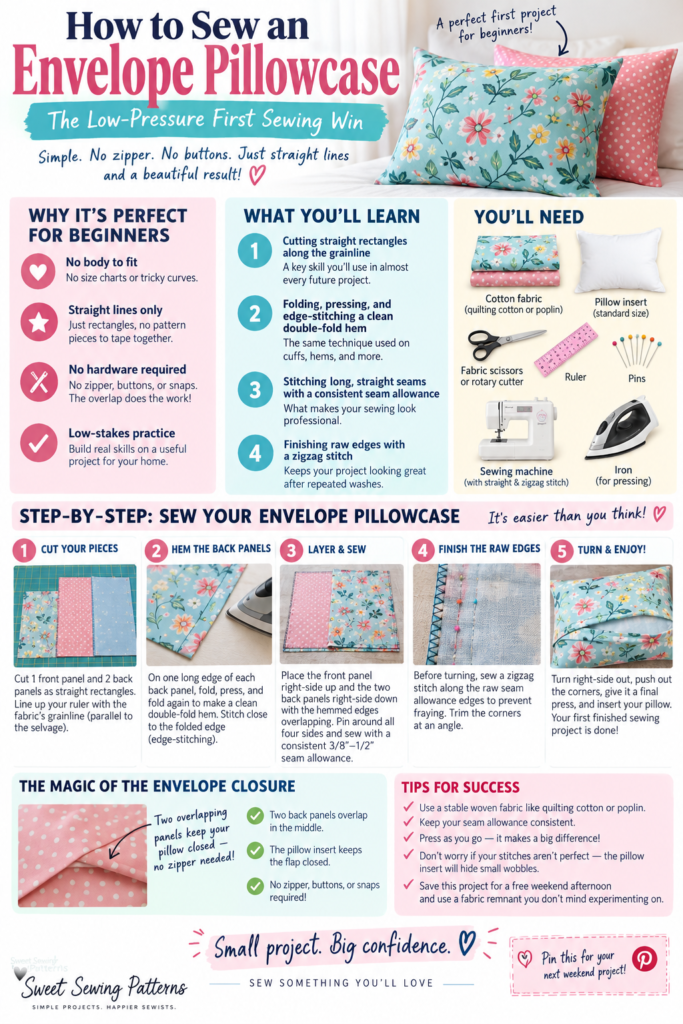
An envelope pillowcase is built entirely from straight-sided rectangles. You measure, you mark straight lines with a ruler, and you cut. There’s no pattern paper to tape together, no notches to match, no curve to clip. If you can cut along a ruler edge, you can cut every piece this project needs — which is exactly why it’s one of the most forgiving simple sewing projects for the home to start with. The skill you’re building (accurate straight cutting) is also the one you’ll lean on in almost every future project, so it’s not a “throwaway” beginner exercise — it’s the actual foundation.
No Hardware Required: The Overlap Does the Work
This is also, functionally, an easy pillowcase pattern with no zipper — and no buttons or snaps, either. Instead of hardware, the back of the cover is made from two fabric panels that overlap each other in the middle, like the flap of an envelope.
Here’s why that works: each back panel is cut wide enough to overlap its neighbor by several inches. Once the whole cover is sewn together and turned right-side out, that overlapping fabric naturally closes over itself. The weight and shape of the pillow insert pressing outward keeps the flap sitting closed — no separate closure needed. It’s a clever bit of engineering that hides in plain sight, and it means you can finish an entire, fully-functioning pillow cover without ever touching a zipper foot, a buttonhole, or a snap tool. For a first project, that’s one less skill (and one less way to feel stuck) standing between you and a finished result.
The 3 Core Skills You’ll Actually Learn
This project is simple, but it isn’t just busywork — it teaches three fundamentals you’ll use in almost everything you sew afterward.
1. Cutting straight rectangles along the grainline Woven fabric has a grain — threads running lengthwise and crosswise — and cutting your pieces so their edges follow that grain keeps the finished cover from twisting or sagging out of shape over time. For this project, that simply means lining your ruler up parallel to the fabric’s selvage (the finished edge along the bolt) before you cut your front panel and your two back panels. It’s a small habit, but it’s one that separates fabric that hangs true from fabric that slowly warps after a wash.
2. Folding, pressing, and edge-stitching a clean double-fold hem Each back panel gets one finished edge — the one that will overlap in the middle. To make it neat, fold that raw edge over a small amount, press it flat with an iron, fold it over again to fully enclose the raw edge, and press once more. Then stitch close to that folded edge, a technique called edge-stitching. This double-fold hem is the same basic move used on sleeve cuffs, pant hems, and shirt bottoms — you’re just learning it here first, on fabric with zero fit pressure attached.
3. Stitching long, straight seams with a consistent seam allowance With your hemmed back panels overlapping in the center, layer the whole stack — front panel right-side up, both back panels right-side down on top, overlapping — and pin around the outer edge. Then sew around all four sides using the same seam allowance the entire way (most beginners use somewhere between 3/8″ and 1/2″, whatever your fabric and pattern call for). Keeping that measurement consistent from corner to corner is the real skill; it’s what makes a seam look “professional” instead of hand-drawn, and it’s a skill every future project — cushions, bags, garments — will ask of you again.
Simple Raw-Edge Finishing: A Beginner-Friendly Zigzag
Once your outer seam is sewn, you’ll have raw fabric edges on the inside of the cover where the seam allowance is. Left alone, those raw edges will fray a little more with every wash. The fix doesn’t require an overlocker or any special equipment — just the zigzag stitch built into a standard home machine.
Before turning the cover right-side out, run a line of zigzag stitching along each raw seam allowance edge, close to where the straight seam sits. The zigzag’s side-to-side motion catches the fabric threads and stops them from unraveling, the same basic principle behind a serged edge, just achieved with the stitch you already have. It’s a five-minute step that meaningfully extends how well the cover holds up over repeated washes — and it’s a genuinely useful technique to have in your back pocket for any raw seam edge on any future project.
From there, trim your corners at an angle to reduce bulk, turn the whole cover right-side out through the envelope opening in the back, push the corners out fully, and give it a final press. Slide your pillow insert in through the overlap, and your first finished sewing project is done.
Save This for Your Next Weekend Project
If you’re not ready to sit down at the machine today, that’s the point of this project — it’s meant to be low-pressure, whenever you get to it. Pin the step-by-step to your sewing or home-projects board on Pinterest now, so it’s waiting for you the next time you’ve got a free weekend afternoon and a fabric remnant you don’t mind experimenting on.